Recessed downlights are the most common fixture in almost every home — and the most commonly misapplied. The right choice depends on more than the trim size or the price. It depends on the ceiling height, the structure above the ceiling, what the light needs to land on, and how the fixture controls glare.
This guide covers how recessed lighting works, how ceiling height changes the selection, and the placement and specification details that decide whether a room feels resolved or quietly off.
How a Recessed Downlight Is Built
A recessed downlight has three parts:
- Housing — the can or frame above the ceiling that holds the fixture and connects to power. New-construction housings mount between joists before the ceiling goes up; remodel housings install through a hole in an existing ceiling.
- Light source — an integrated LED module (or, in older systems, a lamp in a socket).
- Trim — the visible part at the ceiling: baffle, reflector, adjustable gimbal, wall-wash, or lensed.
Canless fixtures, which combine a thin LED module and trim with a separate junction box, have become common in both new construction and remodels. They install quickly and fit shallow ceilings, but they typically have less recess depth — which matters for glare, as covered below.
Ratings to Check Before Anything Else
- IC rating — IC-rated fixtures can be in direct contact with insulation. In an insulated ceiling below an attic, you need IC-rated fixtures.
- Airtight — limits air leakage between conditioned and unconditioned space. Energy codes generally require IC-rated, airtight fixtures in insulated ceilings; confirm your local code.
- Damp or wet location — damp-rated for covered areas with some moisture, wet-rated for showers and exposed exterior locations.
- Safety listing — fixtures should be certified by a recognized testing laboratory.
Check the Ceiling Pocket First
Every recessed fixture needs a certain depth above the ceiling. Joists, ductwork, beams, and sloped ceilings can leave less space than the fixture requires. A fixture that needs 6 inches in a location with 4 inches available is a specification error that becomes a change order at rough-in. Shallow and sloped-ceiling housings exist for these conditions — but only if someone checks before the fixture is specified.
How Ceiling Height Changes the Selection
The higher the ceiling, the farther light travels before it reaches the floor or counter — and the more the beam spreads. As a general pattern, lower ceilings use wider beams and higher ceilings use narrower beams with more output. These are starting points; a photometric model of the actual room is what confirms them.
| Ceiling height | Typical beam for general lighting | What to watch |
|---|---|---|
| 8 ft | Wider beams, roughly 40°–60° | Glare at close range; shallow joists; avoid over-lighting with too many cans |
| 9–10 ft | Medium beams, roughly 35°–50° | Good height for adjustable trims and layering with decorative fixtures |
| 11–14 ft | Narrower beams, roughly 20°–35°, with higher output | Field-angle glare, aiming, and relamping access; add wall and accent layers |
Beam Angle, Field Angle, and Recess Depth
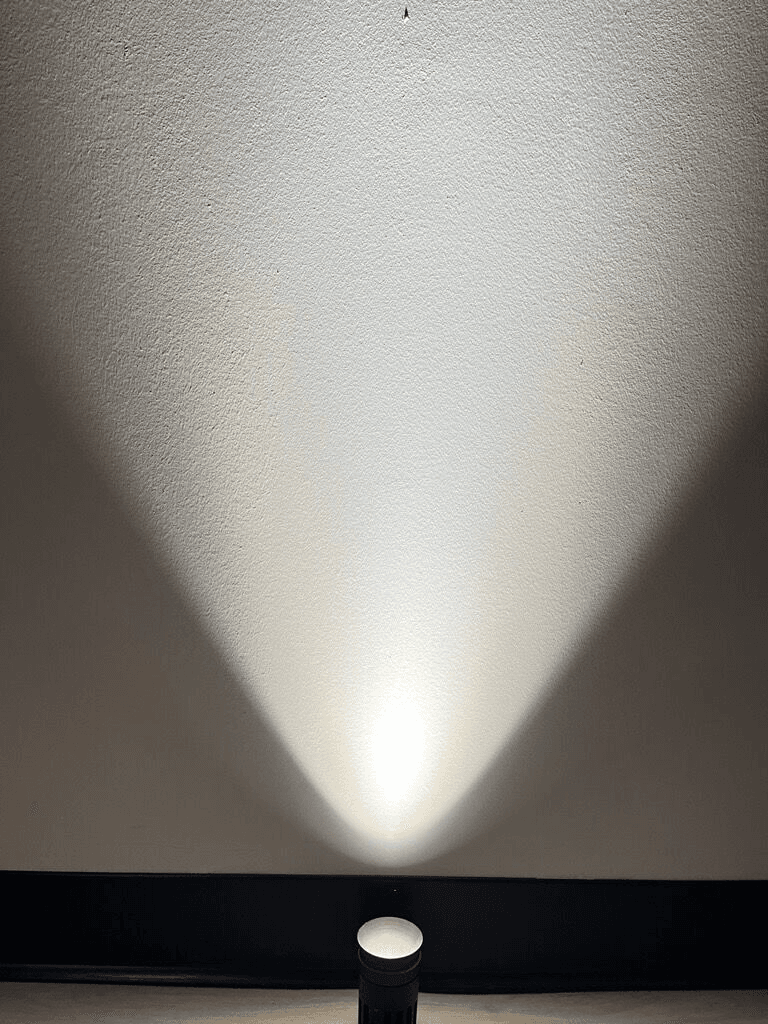
Beam angle describes where the useful light goes. Field angle describes the outer edge of the cone — and at higher ceilings, that edge is often where glare comes from. A fixture with the right beam angle can still cause a glare complaint if the field angle is wide and the source sits close to the ceiling plane.
Recess depth helps. A deeper-set source with a good baffle or reflector cuts off the view of the LED until you’re nearly underneath it. We walk through a real example in The fixture had a great beam angle. The glare complaint came anyway.
Spacing and Placement From Walls
- General lighting: a common starting point is spacing fixtures about half the ceiling height apart, then adjusting so the beams overlap evenly.
- Kitchen task lighting: about 18–24 inches from the wall, so light lands in front of the person at the counter instead of behind them. See our kitchen task lighting post for the measurement data.
- Wall washing and accent: place fixtures far enough from the wall that light spreads evenly down its height, and use wall-wash or adjustable trims designed for the job.
- Don’t rely on recessed lights alone. Rooms feel better with layers — sconces, under-cabinet lighting, cove light, and lamps — especially at both ends of the height range.
Color, Dimming, and Finishes
- Color temperature: 2700K–3000K for most residential spaces. Keep it consistent within a room; mixing color temperatures looks unplanned.
- Color rendering: CRI 90 or higher, with attention to R9, so wood, stone, food, and skin tones look natural.
- Dimming: confirm the fixture’s driver is compatible with the specified dimmer or control system, and check low-end performance for flicker or stepping.
- Finishes: dark ceilings, walls, and floors reflect far less light than white surfaces. A room with dark finishes needs more light — or a different strategy — to feel equally bright.
See It Before You Specify It
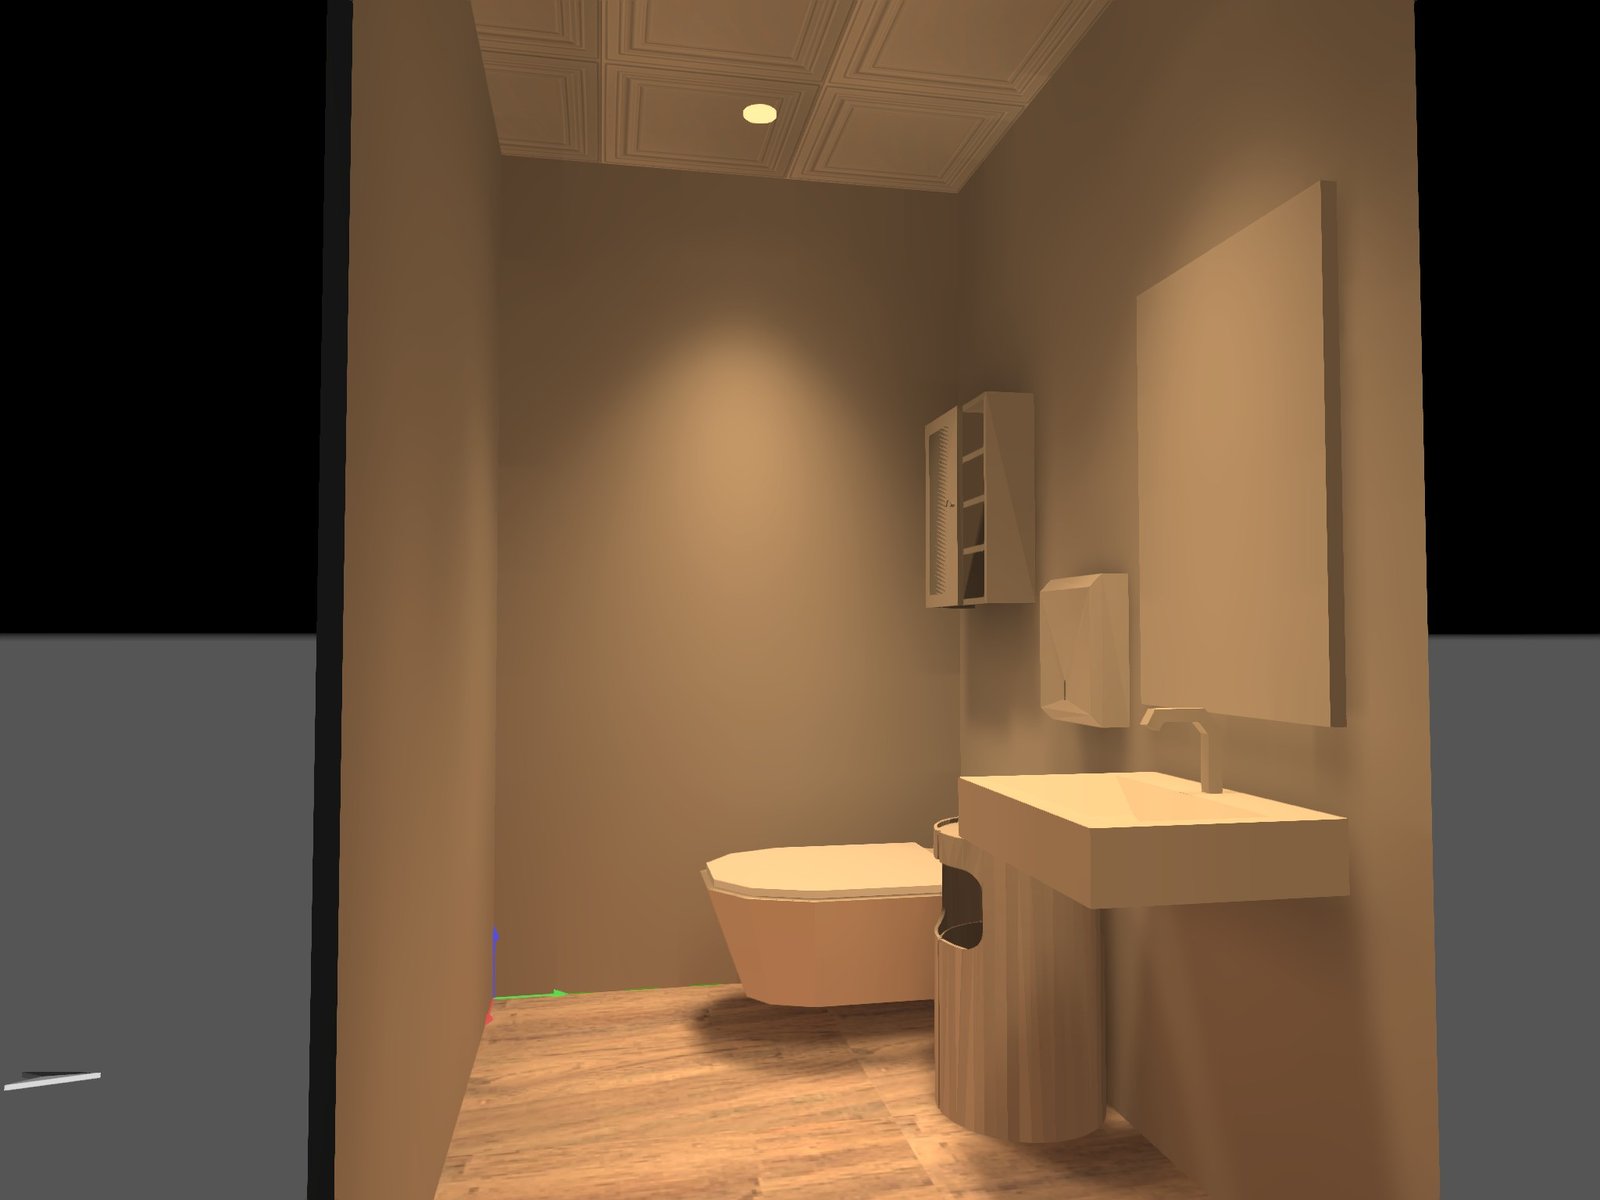
Ceiling height, beam, recess depth, and finishes interact in ways a spec sheet can’t show. That’s why we model the room first, then review key fixtures at real mounting heights in the Illumify Design Lab before they go on a specification.
Illumify is a lighting design firm led by Jared Jin, P.E., LC, MBA, based in Norcross, Georgia. We carry lighting intent from design through commissioning for architects, interior designers, builders, and owners across metro Atlanta and the Southeast. Book a free 30-minute discovery meeting · info@illumifyhome.com · 770-341-0761